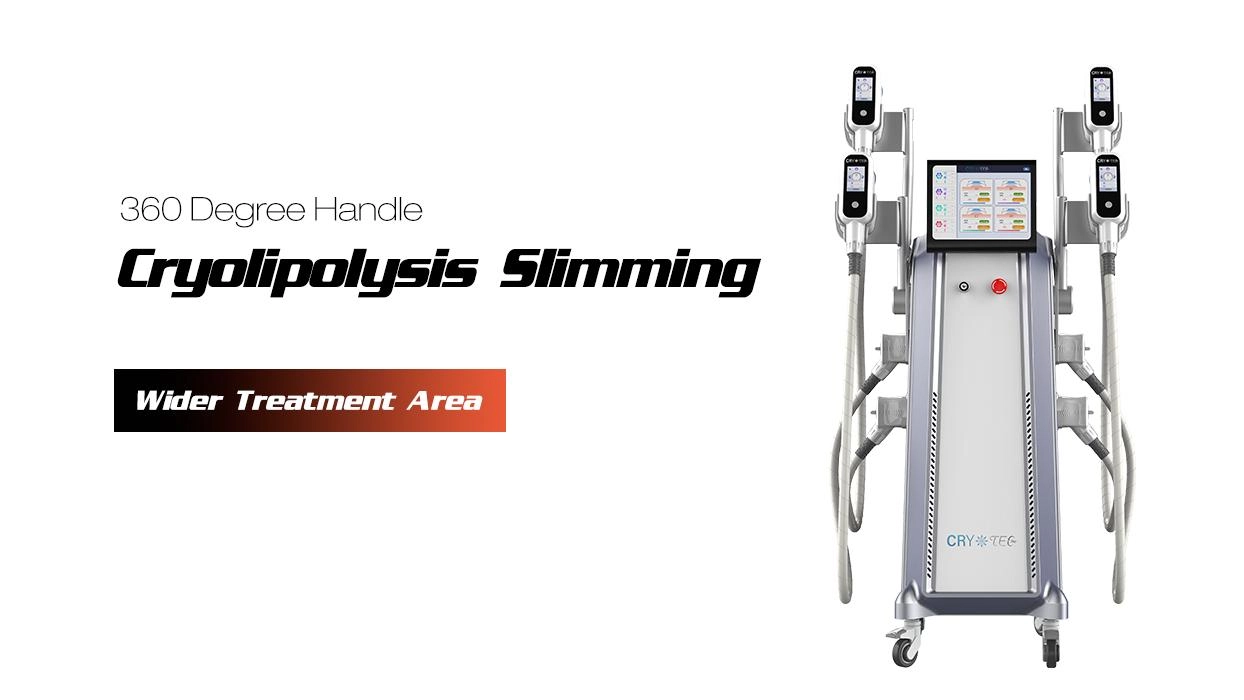
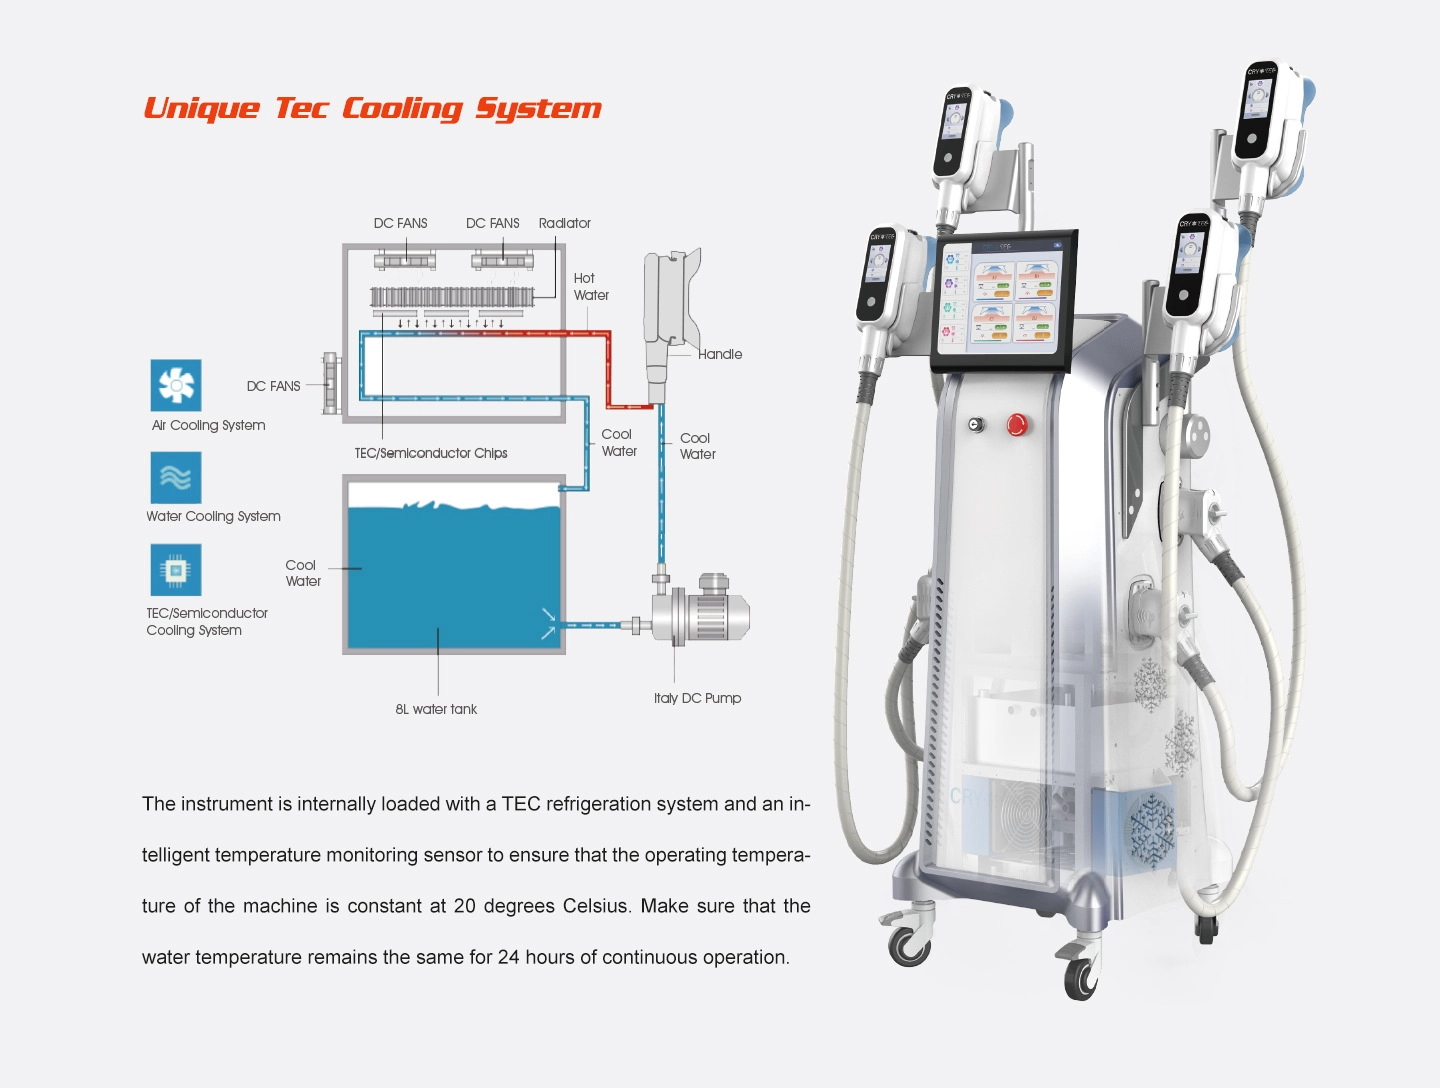
Cryolipolyse, is a super popular way to ditch stubborn fat without surgery. It uses cold to knock out fat cells. As more salons and clinics pick up this tech, knowing how to run a cryolipolyse machine safely is a big deal. This guide is for folks curious about using these machines, whether you’re thinking of offering the service or getting it done yourself.

How to Run a Cryolipolyse Machine
Working a cryolipolyse machine isn’t just about hitting the “on” button. It takes a clear plan—checking the client, setting up the gear, keeping an eye on things, and helping with aftercare. Here’s how it all goes down.
Step 1: Getting Set for a Cryolipolyse Session
Making Sure the Client’s Good to Go
Before you start, check if the client’s okay for the treatment. Some health problems, like cryoglobulinemia, cold agglutinin disease, or paroxysmal cold hemoglobinuria, mean it’s a no-go. Ask about their health history to catch any issues.
Having a Quick Chat Beforehand
A friendly talk helps the client know what to expect and builds trust. Explain how cryolipolyse chills fat cells without hurting other skin. Mention possible side effects, like a bit of redness or puffiness. Make sure they sign off before you begin.
Prepping the Room
Keep the treatment room clean and fresh. Have everything ready—gel pads, applicators, towels, and cleaning supplies. Set the cryolipolyse machine on a solid surface near a power plug. Make sure there’s good light to see the client’s skin clearly.
Step 2: Using the Cryolipolyse Machine
Starting and Checking the Machine
Making Sure It’s Ready
Turn on the machine and let it do its quick startup checks. Ensure the suction, cooling, and screen are working fine. Look for any software updates to keep things safe and smooth.
Picking the Right Settings
Adjust the temperature, suction power, and session time based on the area, like the tummy or thighs. Most machines have presets for different spots, but you can fine-tune them if needed.
Placing the Gel Pad and Applicator
Keeping Skin Safe
Before putting on the applicator, lay a gel pad over the treatment spot. This pad protects skin from getting too cold or hurt during the freezing.
Getting Suction Just Right
Set the applicator on the gel pad so it fully touches the skin. Turn on suction slowly until the fat gets pulled into the applicator. Check that the pad’s smooth with no gaps or wrinkles that could mess things up or feel uncomfortable.
Step 3: Keeping Watch During the Session
Checking on Client Comfort
During the session, which usually runs 35–60 minutes, keep checking in with the client. Ask if they feel tingles or numbness—these are normal. Watch out for strong pain or burning, which could mean something’s off.
Tweaking Things if Needed
If the client’s too uncomfortable or the suction looks uneven, pause the session. Double-check settings or move the applicator. Lots of machines let you adjust on the go without starting from scratch.
Handling Any Problems
If a client has a bad reaction, like super red skin or an allergy to the gel pad, stop right away. Use warm compresses if needed. Tell them to see a doctor if it’s serious.
Step 4: Wrapping Up and Aftercare
Taking Off the Applicator and Cleaning
When the session’s done, ease off the suction before lifting the applicator to avoid bruises. Gently remove the gel pad. Wipe the area with antiseptic wipes or saline. Check the skin for anything weird before giving aftercare tips.
Sharing Aftercare Tips
Dealing with Redness or Puffiness
Clients might see some redness or swelling after. This usually goes away in hours or a few days. Tell them to skip hot showers or heavy workouts for a day after.
Tips for Awesome Results
For the best outcome, suggest a few sessions a few weeks apart, depending on the fat in the area. Encourage drinking water and eating well to help the body-shaping process.
We all want to lose extra fat, but lots of options fall short. Some aren’t safe, don’t work, or even make things worse later. Diet pills? They can mess with your health, and you’ve got to eat anyway. Chill out! If you want a slimmer look, give our cryolipolyse machines a try.

Grab Nubway’s Cryolipolyse Machine
When picking a cryolipolyse machine for your salon or clinic, quality’s the name of the game. Nubway, started in 2012 in Shunyi District, Beijing, China, is a top player. We cover R&D, production, sales, and training for high-quality, efficient machines.
Our gear goes to over 120 countries, from Europe to Southeast Asia. That proves our solid rep in beauty tech.
Nubway offers free training through video calls with expert instructors. You’ll be ready to use your machine from day one. Our support team’s there 24/7 via our website’s help channels.
Whether you’re kicking off a beauty business or adding to your clinic, Nubway’s cryolipolyse machine mixes high-tech design with easy use. It’s got CE and FDA approvals for worry-free sessions.
At Nubway, we put clients first. Our goal is to deliver top-notch beauty gear that’s safe and keeps customers happy from the first chat to recovery.
FAQ
Q: Who can learn to run a cryolipolyse machine?
A: Anyone with basic beauty therapy training can pick it up. Most brands, like Nubway, provide online tutorials or face-to-face sessions. This helps you learn to operate it safely. You don’t need a medical license. Just check your local rules first.
Q: How can I tell if my cryolipolyse machine is good quality?
A: Look for marks like CE or FDA approval. See what other clinics say about it. Ask about the warranty and customer support too. A solid machine has straightforward controls. It should also give consistent suction.
Q: Can cryolipolyse be done anywhere on the body?
A: It works best where you can pinch some fat. Like the tummy, thighs, or sides. It’s not great for small spots. Or areas without much flesh, like knees or faces. Always talk with the client first. Together, pick the right spots.


